Copying data to/from ARC
MacOS/Linux users (and other Unix like operating systems) can use the command line utilities rsync, sftp, or scp directly to copy data to or from the ARC systems. These commands must to be run on your local machine as you can only pull files from ARC or push files to it.
Note
$HOME and $DATA are shared between the ARC and HTC systems, so the instructions below will work for both systems.
The gateway machine gateway.arc.ox.ac.uk has no access to ARC $HOME, but the path to your ARC $DATA is available. Do not transfer data into the home directory
on gateway.arc.ox.ac.uk please use your $DATA path instead.
Copying to the ARC systems
Make sure you know the full path to the destination directory on ARC - The best way to to this is to log in to ARC, change to that directory and run the command
pwd; this will show you the full path to the directory.
For example if you have created a directory myscripts in $DATA, pwd will show output like:
[ouit0578@gateway]$ cd $DATA/myscripts
[ouit0578@gateway]$ pwd
/data/system/ouit0578/myscripts
On your local Mac or Linux PC open a terminal window and change directory to the directory where the file(s) you want to copy to ARC are located. The command
pwdwill show the full path to this directory, take note of this path. For example if you have a directory namedscriptsin your local home directory, the path may look something like:$ cd scripts $ pwd /home/user/scripts
While still working on your MAC or Linux PC: to copy files, use the
scpcommand with the format:scp <source> <destination> scp local/path/filename arcuserid@gateway.arc.ox.ac.uk:/path_to_destination_directory/
Note
The remote side of the copy requires you to specify your ARC username followed by the @ symbol, then the name of the machine you want to connect to - in this case gateway.arc.ox.ac.uk followed by a : (colon) then the remote directory path.
Continuing with the above example - to copy all the files in /local/scripts this would be:
scp /home/user/scripts/* ouit0578@gateway.arc.ox.ac.uk:/data/system/ouit0578/myscripts/
To copy an entire directory hierarchy use the recurse option, -r
For example:
scp -r /home/user/scripts/* ouit0578@gateway.arc.ox.ac.uk:/data/system/ouit0578/myscripts/
In both of the above cases, you will be prompted to authenticate with your ARC password.
Copying from the ARC systems
The reverse should be used for copying from arc. Using the methods above, take note of the source (ARC) and destination (local PC) paths. In this example we will use:
ARC directory: /data/system/ouit0578/mydata
Local PC directory: /home/user/datafromarc
Copying data from Mac or Linux PC
Once again, we must run the scp command on our local machine as we are going to pull the data back from ARC.
To copy files from your local PC:
scp ouit0578@gateway.arc.ox.ac.uk:/data/system/ouit0578/mydata/* /home/user/datafromarc/
Again a recursive copy can be made using the -r option:
scp -r ouit0578@gateway.arc.ox.ac.uk:/data/system/ouit0578/mydata/* /home/user/datafromarc/
In both the above cases, you will be prompted to authenticate with your ARC password.
Copying to/from ARC using Graphical File Transfer utilities
Windows users can use tools such as MobaXterm or WinSCP to copy files. In this example we will use the popular WinSCP utility, but the method used should translate well to other utilities - consult their documentation for information.
If you have not already, use the discovery method in step 1) at the top of this page above to note the remote ARC path for the transfer - as you will require this information later.
First open WinSCP and complete the Session fields as follows:
File Protocol: SCP
Host Name: gateway.arc.ox.ac.uk
Port Number: 22
User Name: Your ARC username
Password: Your ARC password
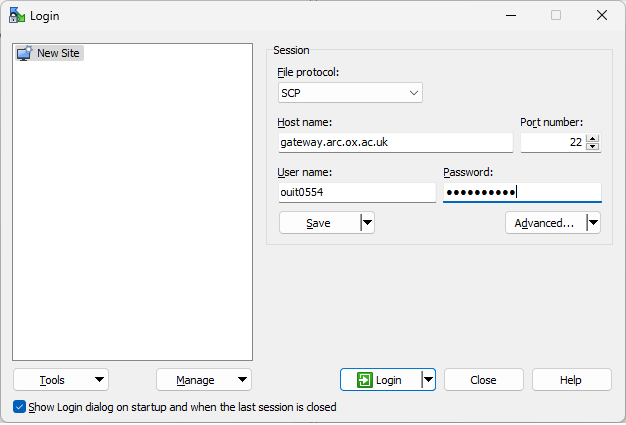
If you wish, you can click Save to save this information for future sessions, otherwise click Login to connect…
You should then be logged in and see the following type of display…

The left “pane” is the local filesystem on your machine, and the right “pane” is the remote ARC filesystem. This defaults to your home directory on gateway.arc.ox.ac.uk which is not the same place as $HOME on ARC - so please do not transfer files here.
Use the WinSCP menu options, Remote | Go To | Open Directory/Bookmark… to bring up the following dialogue box:
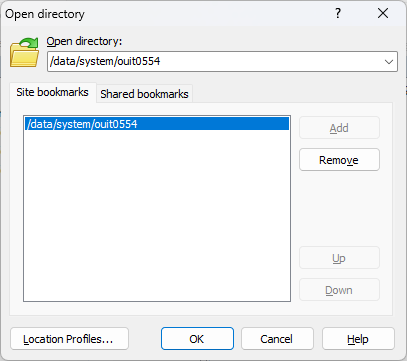
In the Open Directory selector, type in the path to your $DATA area, as found in Step 1 at the top of this page. In my case this is /data/system/ouit0554
You can click Add to save this as a bookmark for next time, or simply click OK to open this directory on ARC.
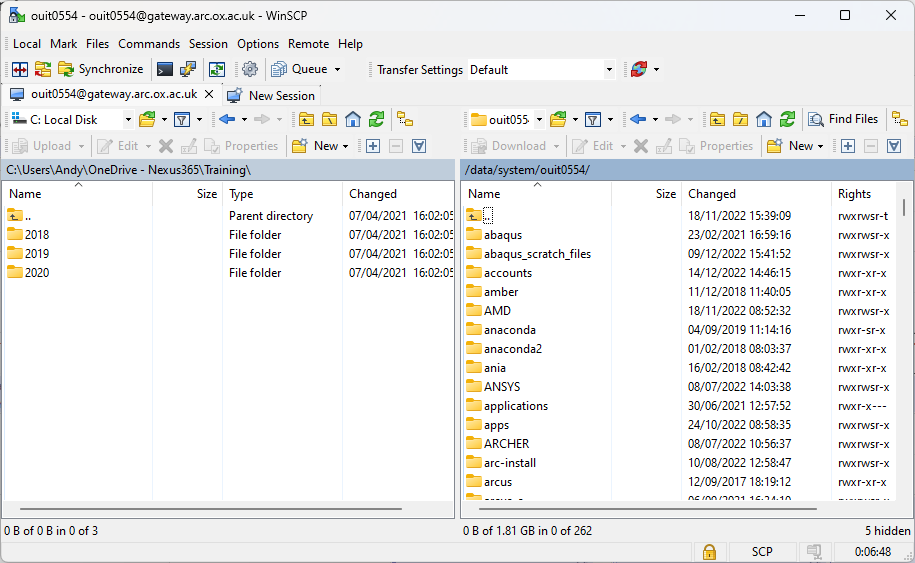
You should now see your $DATA area on the right pane and you can drag/drop files between your local and ARC filesystems.
Troubleshooting Graphical File Transfers
If you see an error of this type:
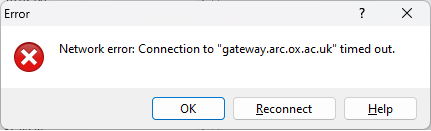
This indicates a network problem between your local machine and the ARC service. Typically this is caused by being off-campus without a working university VPN connection. Try restarting the VPN client.
If you supply the wrong username or password to the file transfer utility, you may see errors such as the following:
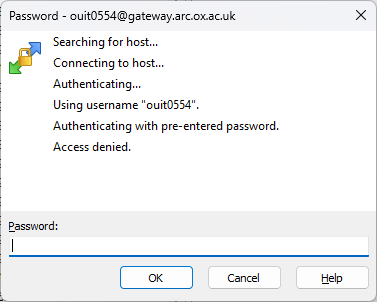
Access Denied commonly means that you have made a connection to ARC, but you have supplied the wrong username/password combination. Try checking these using a standard SSH connection, and if the problem persists contact support@arc.ox.ac.uk for assistance.
Copying data from/to the RFS
It is possible to access the Research File Service (RFS) from ARC. There are two main ways it can be accessed; via a graphical file browser from the ARC desktop environment, or command line (e.g. from login nodes or cluster nodes).
Accessing RFS from the ARC desktop environment
Note
RFS login is changing from CONNECT credentials to your Oxford Single Sign On (SSO) credentials. During the transition period, you will still have to use your CONNECT details - domain ‘connect.ox.ac.uk’, userid your CONNECT ID (likely the same as your SSO ID) - until you have been notified that your RFS login has been moved to SSO.
Once your login was transitioned to SSO, you will need to use your Oxford SSO credentials (domain ‘ox.ac.uk’, SSO user ID) to connect to RFS.
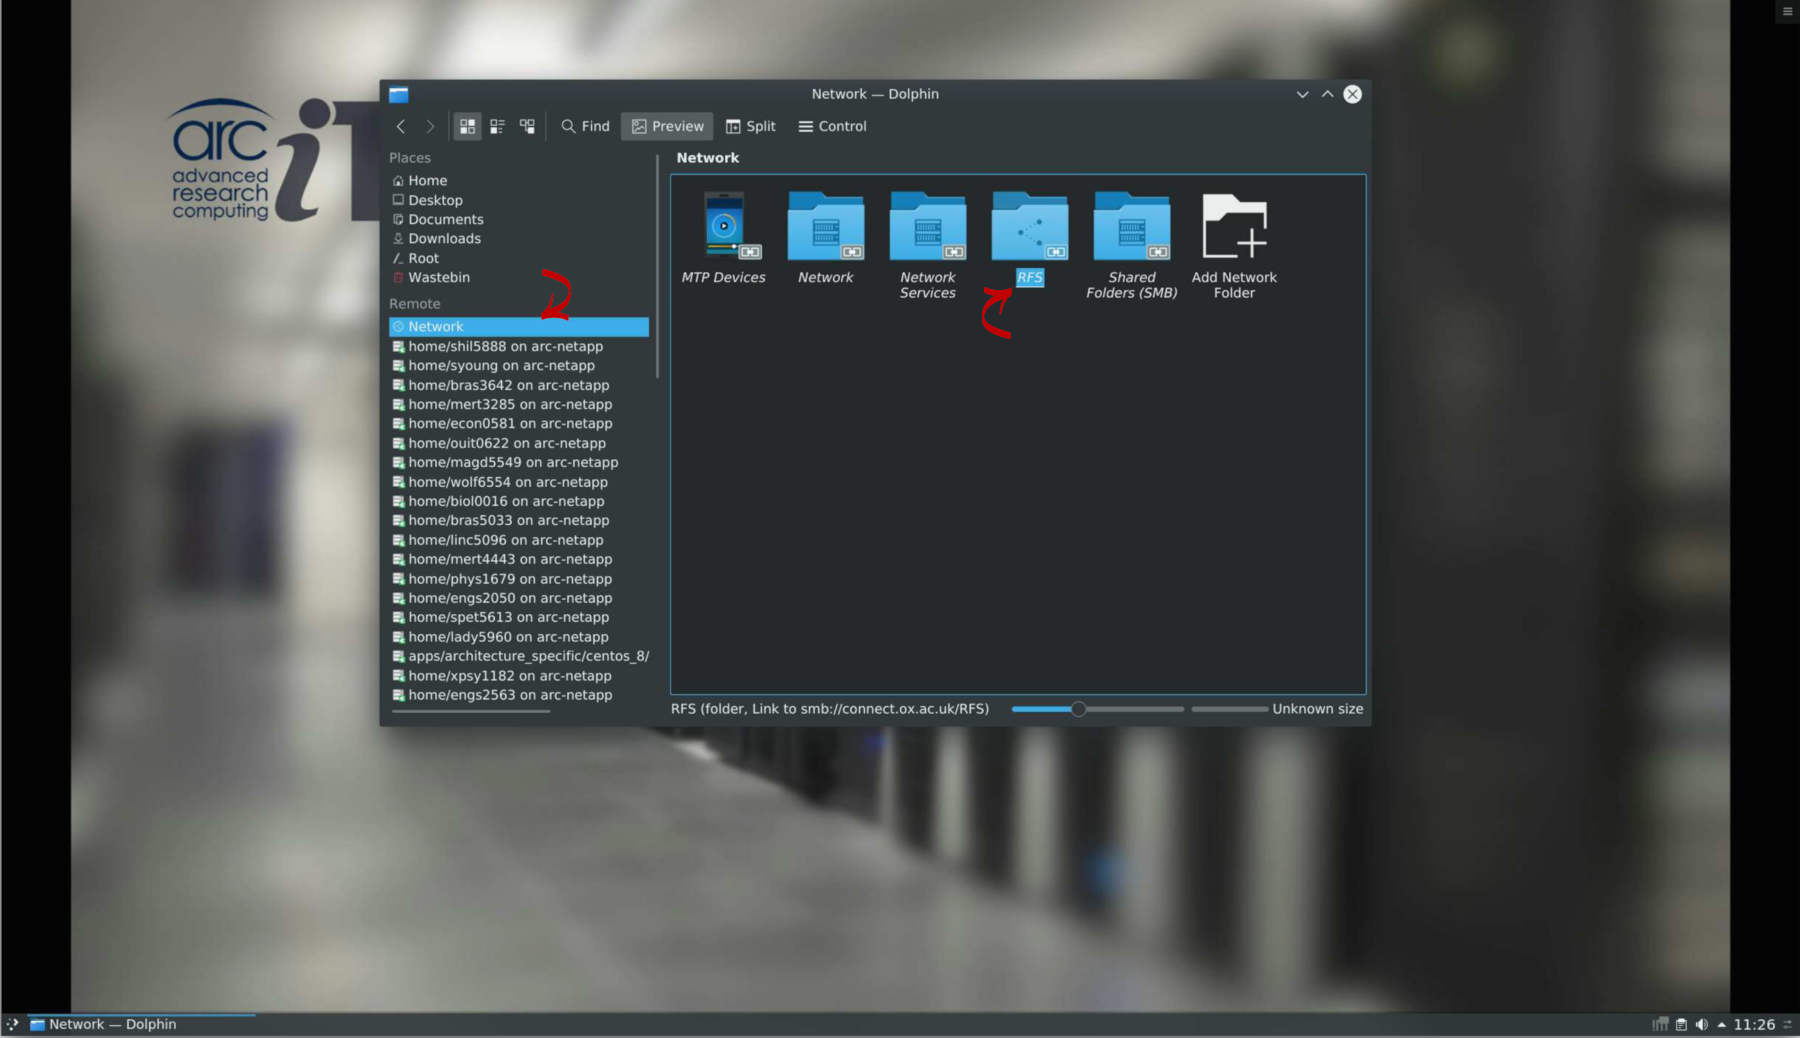
Log in to the ARC desktop environment. Open the main menu, and start the file manager application (Dolphin).

In Dolphin, select ‘Network’ from the left menu. Click on the folder named ‘RFS’.
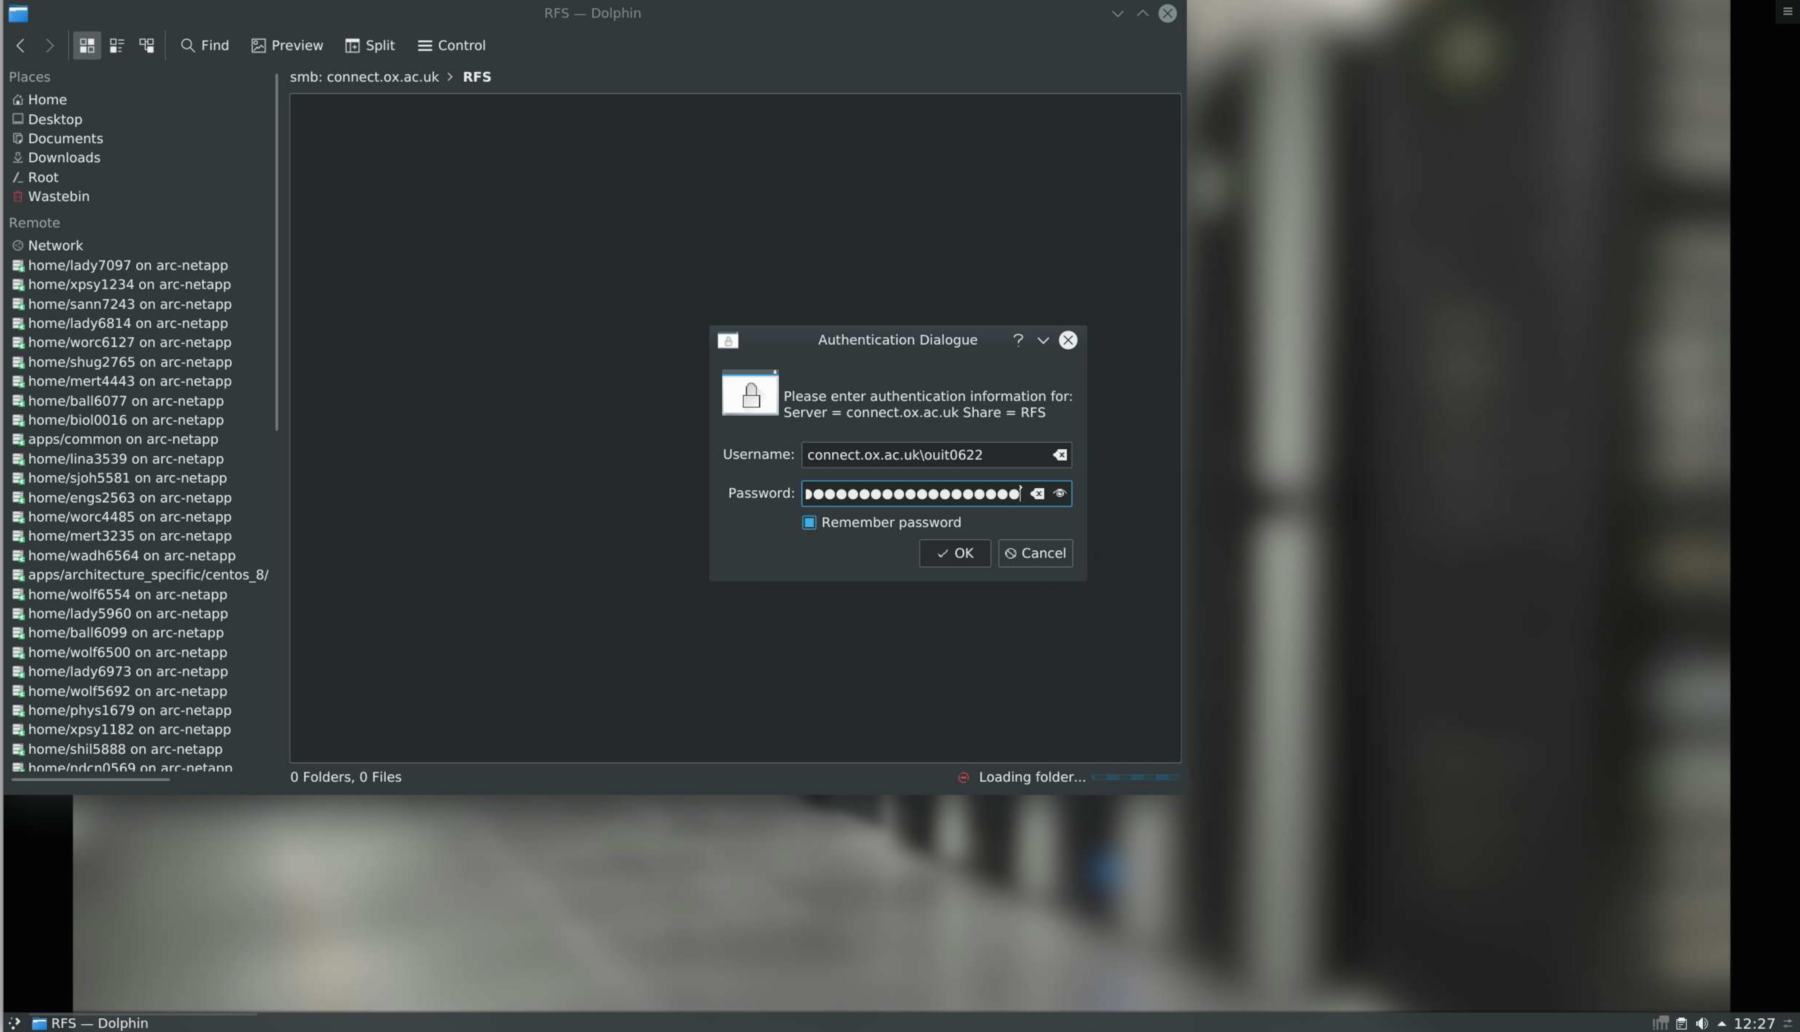
KDE should ask you for your username and password. If still using your CONNECT account; you need to enter the username as:
connect.ox.ac.uk\USERID
if your account has transitioned to SSO, it would be:
ox.ac.uk\USERID
Enter the respective account password.
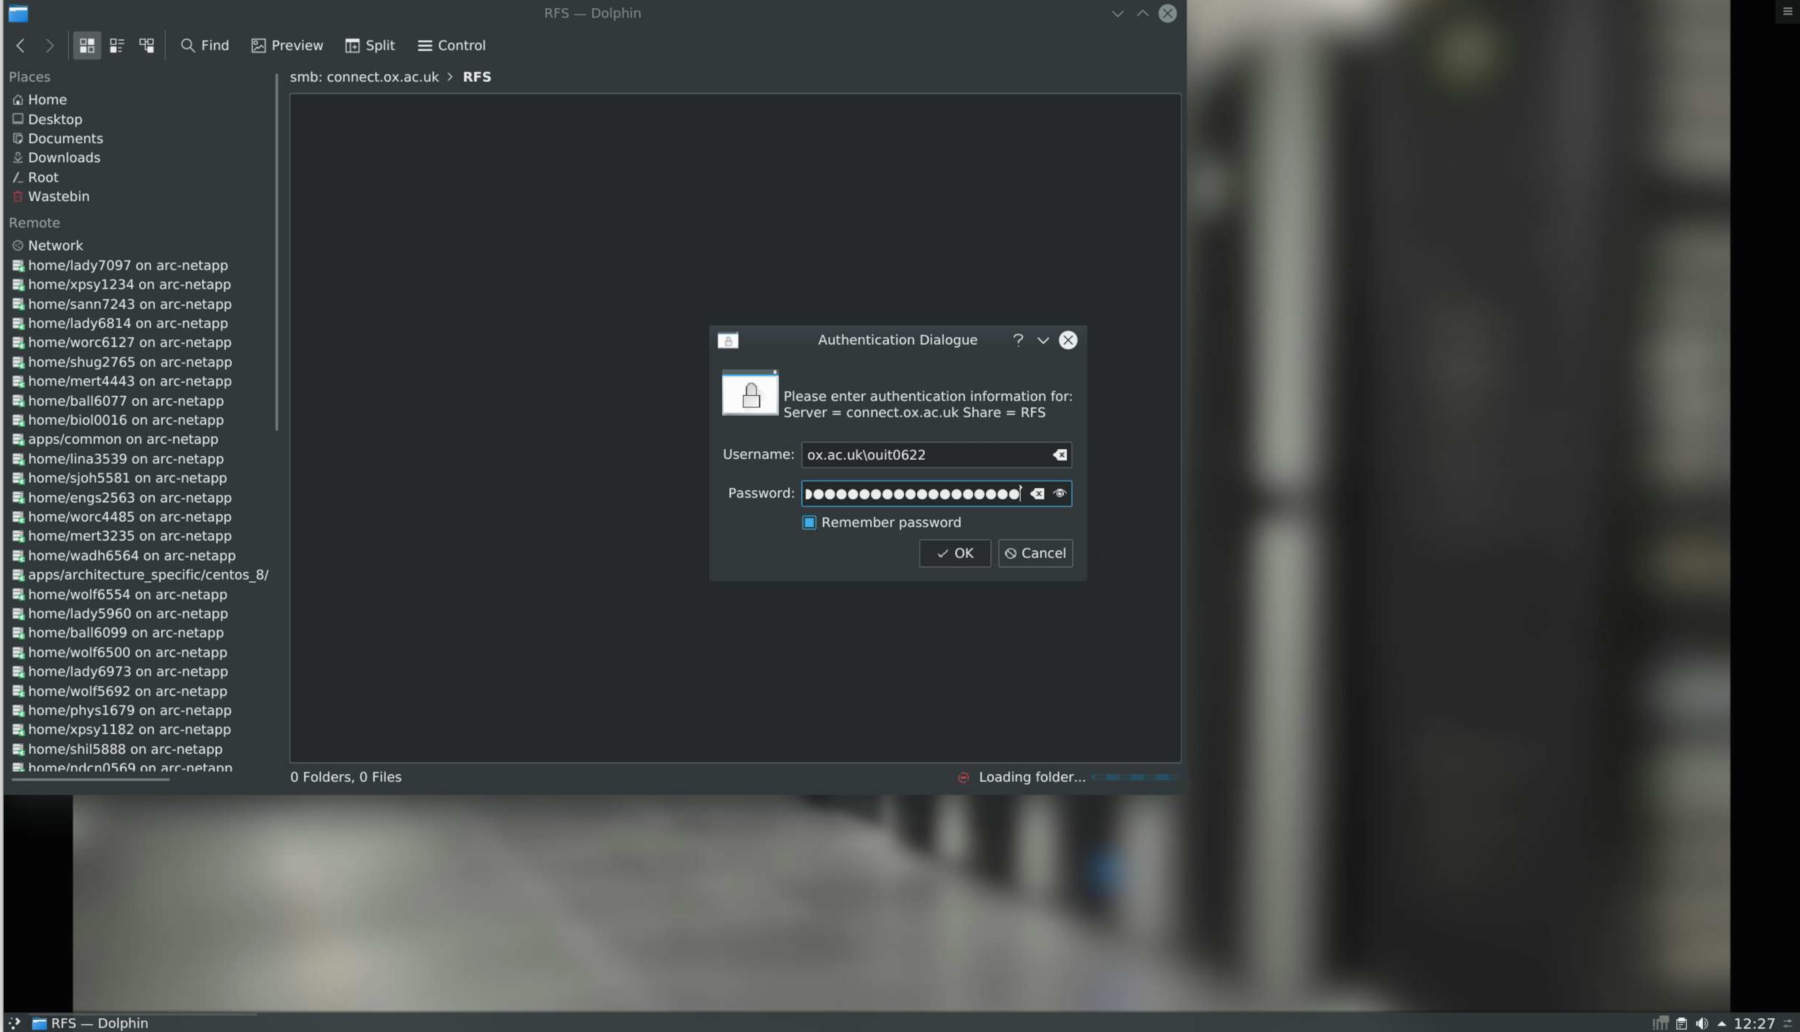
If you select ‘Remember password’, KDE will safe these details for you. It uses it’s KDE Wallet service to safe these securely. If you have not used that before, it will guide you through the setup and let you set a master password for your wallet.
Once you’ve entered your credentials and hit ‘enter’ (or clicked ‘OK’), it should connect you to your RFS share.
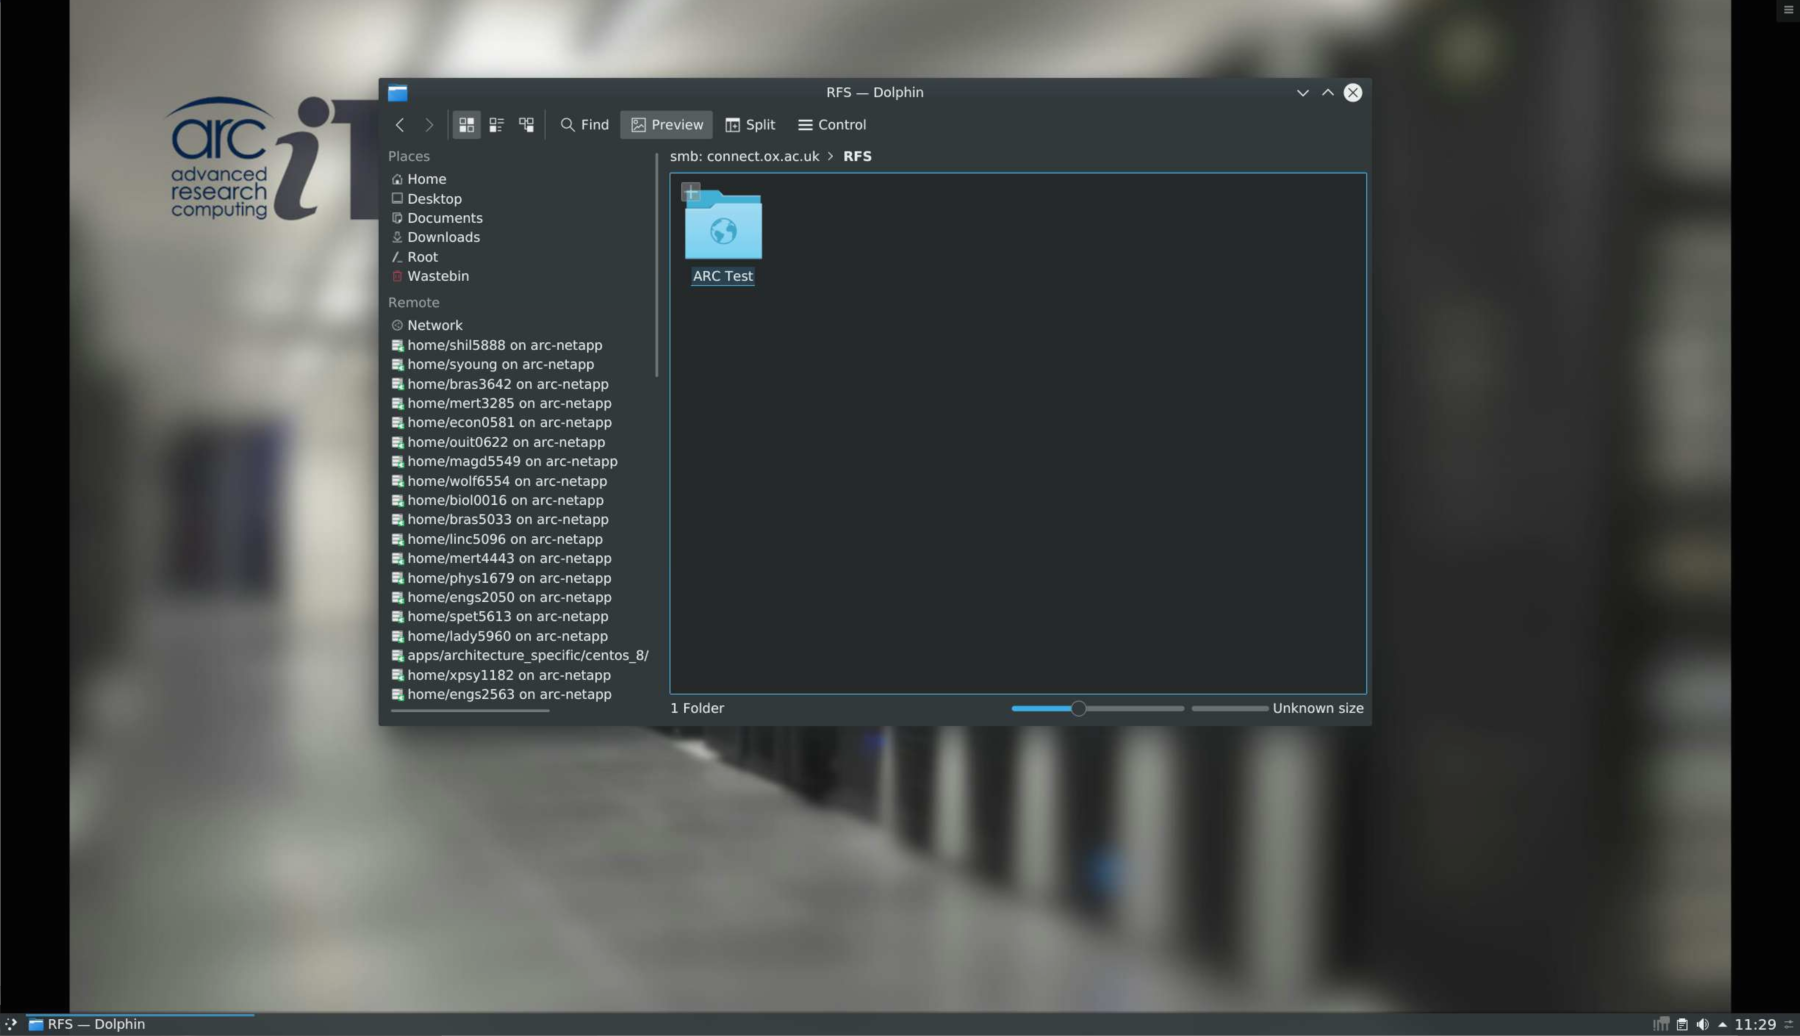
You can interact with this from Dolphin as with a normal folder, and navigate the folder structure on RFS. You can copy files or directories in and out of the service (e.g. via drag-and-drop), and open them in applications.
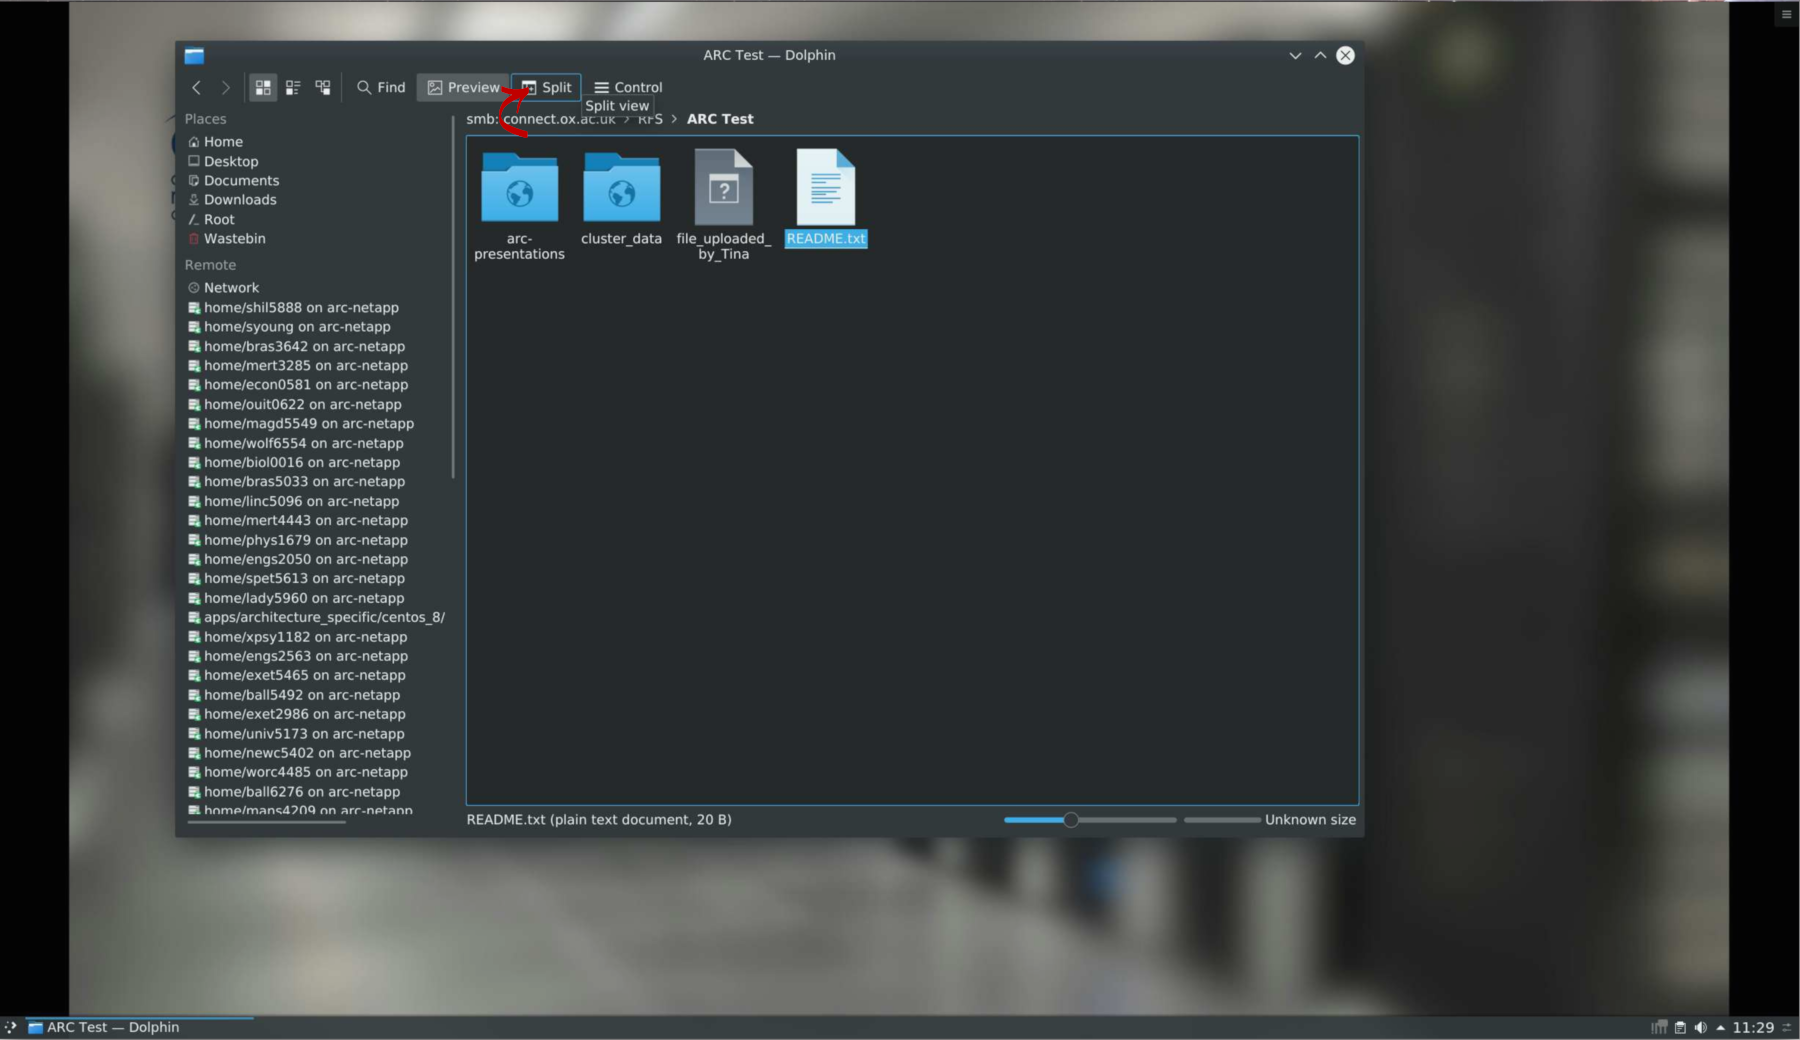
Dolphin has a ‘split’ view that allows having multiple places (folders) open at the same time, which is useful for transferring files in and out of RFS. To split the file browser window, click on the ‘Split’ button in the menu bar:
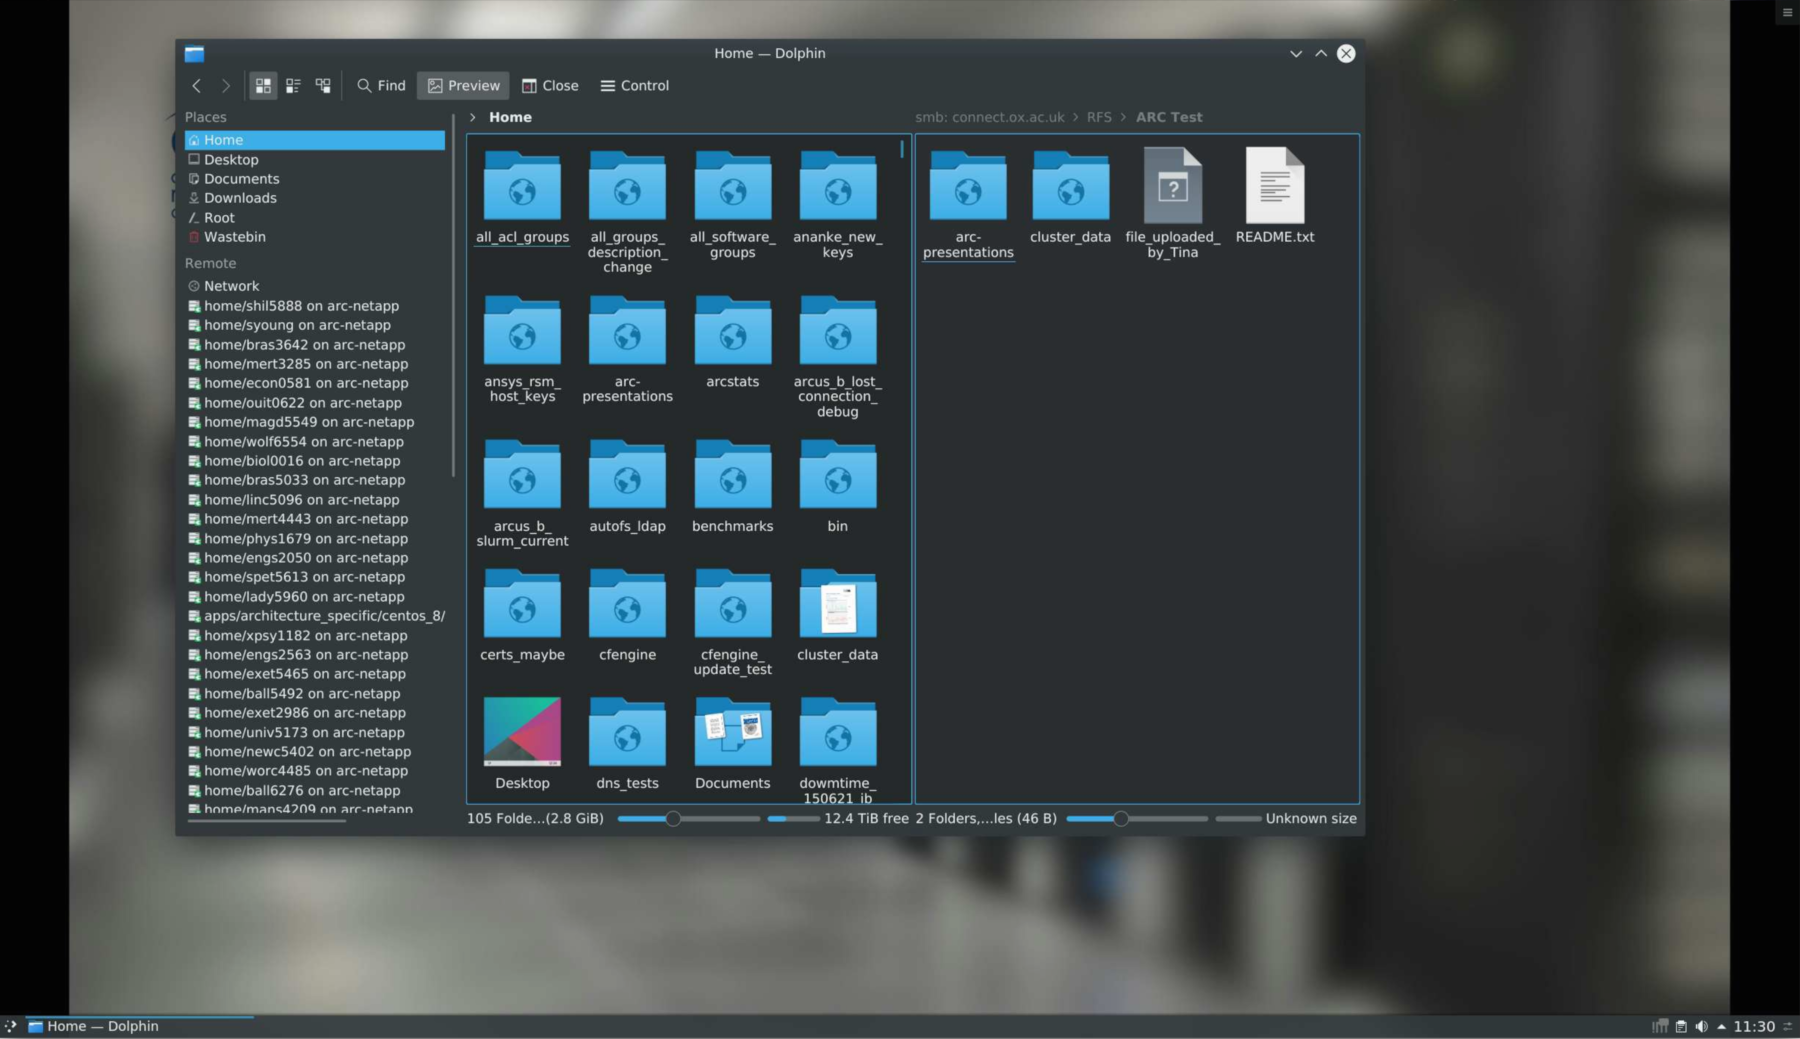
You can then select one half of the split window and change what is is showing to e.g. your Home directory, or navigate to your data folder:
Accessing RFS from the command line
Using the ARC rfs tool
Note
RFS login is changing from CONNECT credentials to your Oxford Single Sign On (SSO) credentials. During the transition period, you will still have to use your CONNECT details - domain ‘connect.ox.ac.uk’, userid your CONNECT ID (likely the same as your SSO ID) - until you have been notified that your RFS login has been moved to SSO.
Once your login was transitioned to SSO, you will need to use your Oxford SSO credentials (domain ‘ox.ac.uk’, SSO user ID) to connect to RFS.
We provide a command-line tool - called ‘rfs’ - that allows easy interaction with RFS. It can list files on RFS; create directories on RFS; push data to RFS; and fetch data from RFS. ‘rfs help’ or ‘rfs -h’ explain usage and options:

Note that that the command-line RFS defaults to using your SSO ID to log in; if you still need to use your CONNECT account, you need to add the ‘-C’ option.
The tool can list directory contents of both the top level directory, or within directories:
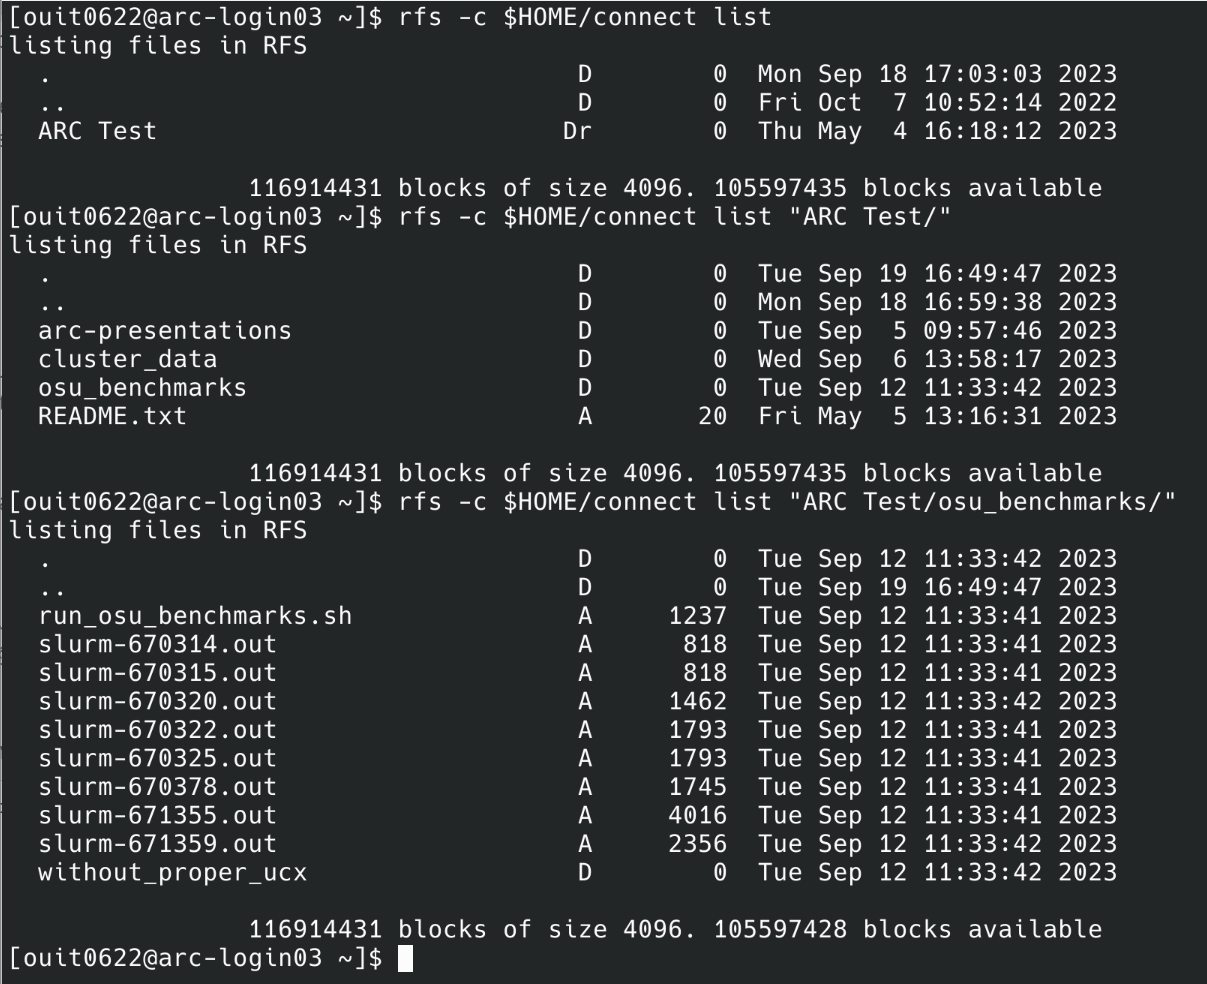
It allows to create directories on RFS, and to push data into RFS (both files and directories):
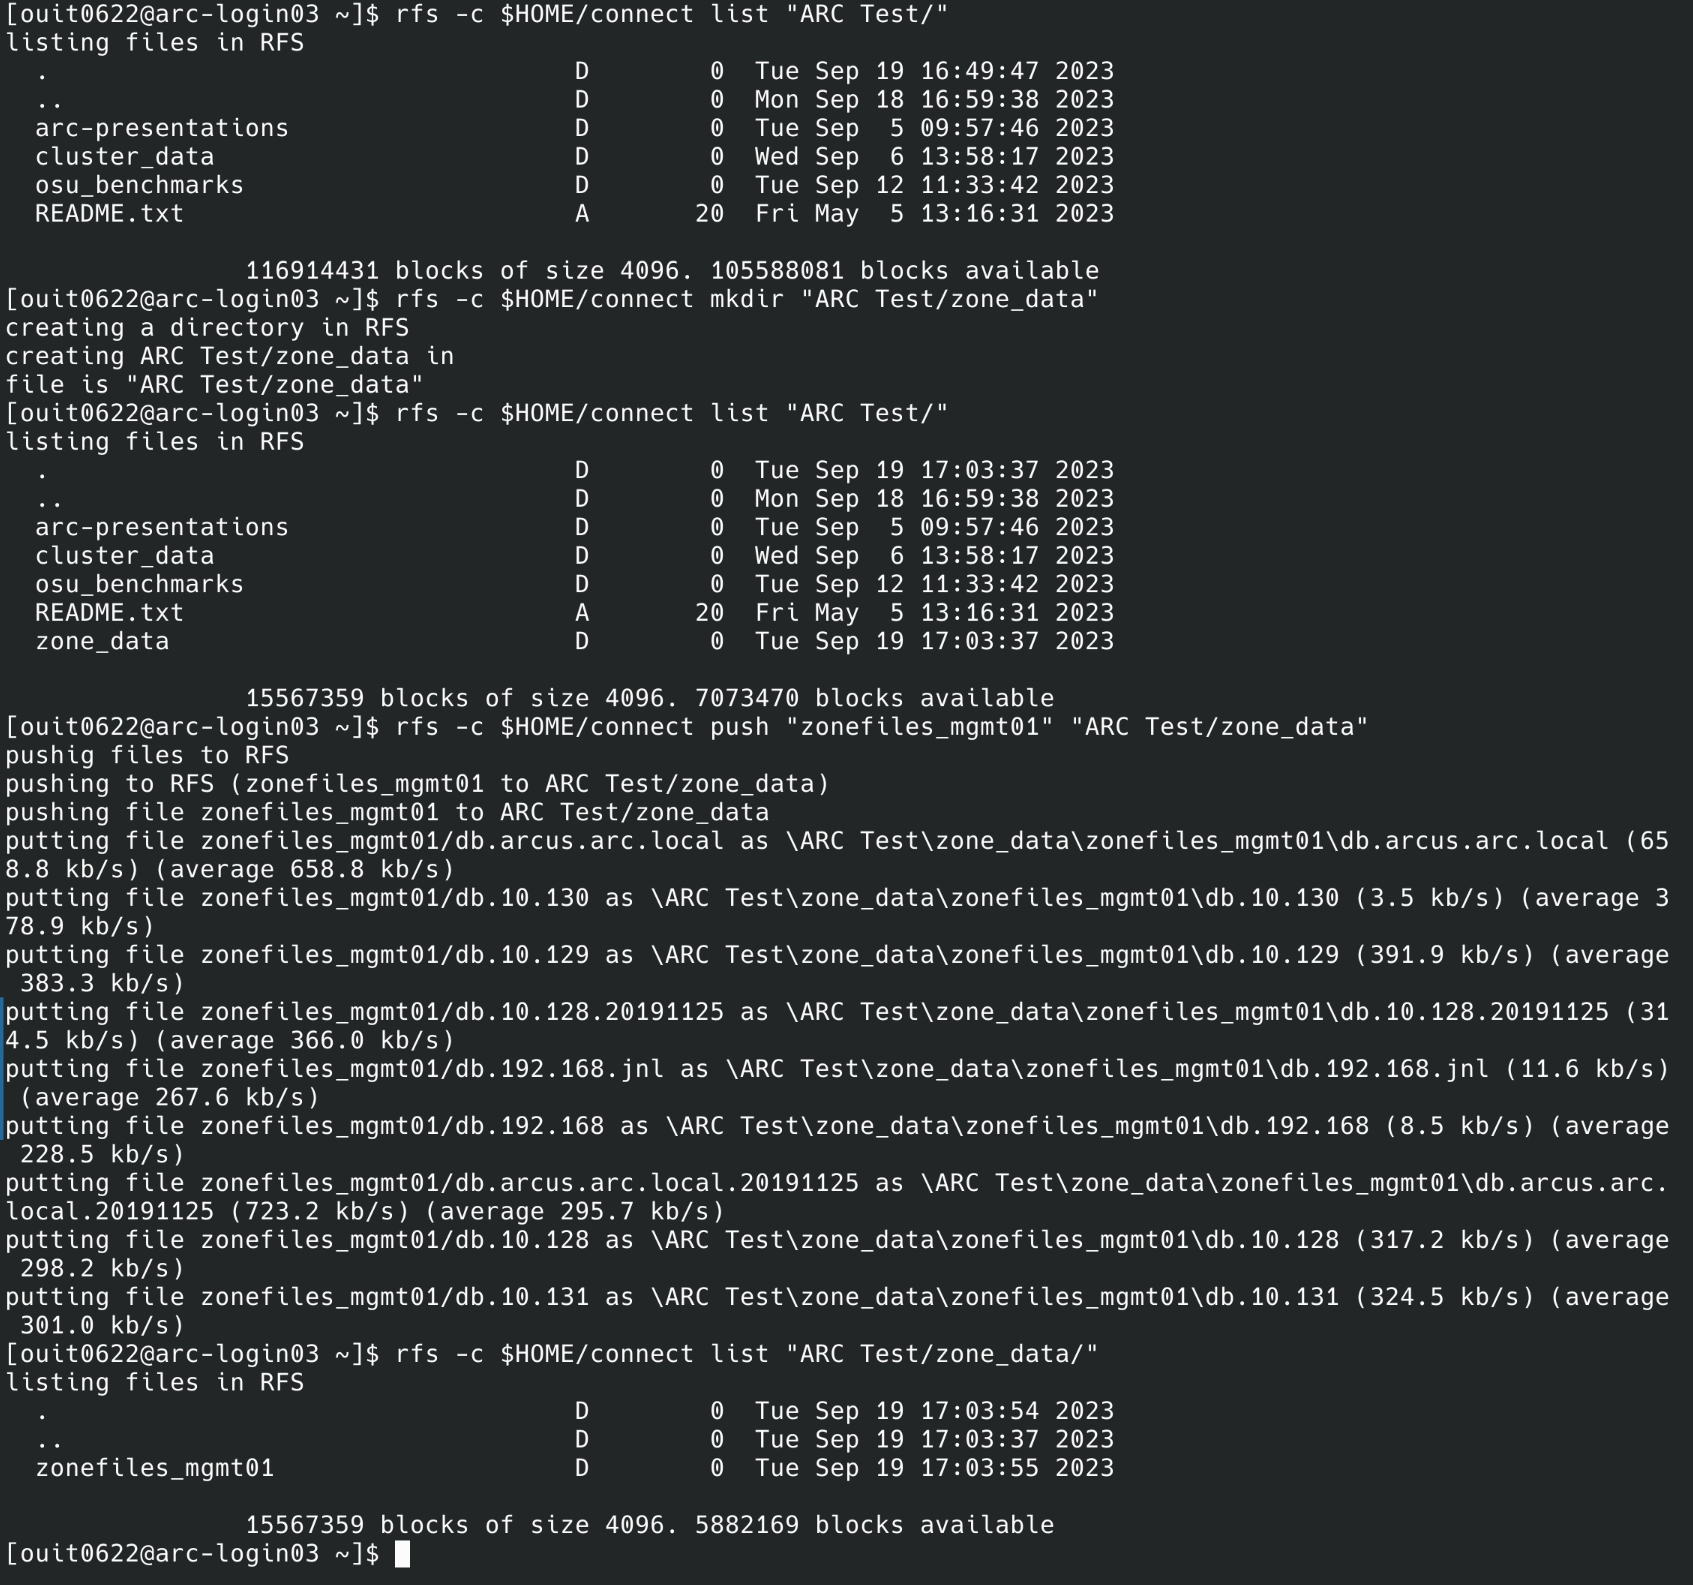
The ‘push’ command will work on both files and directories (directories are pushed recursively).
Files and directories can also be fetched from RFS, into either the current directory:
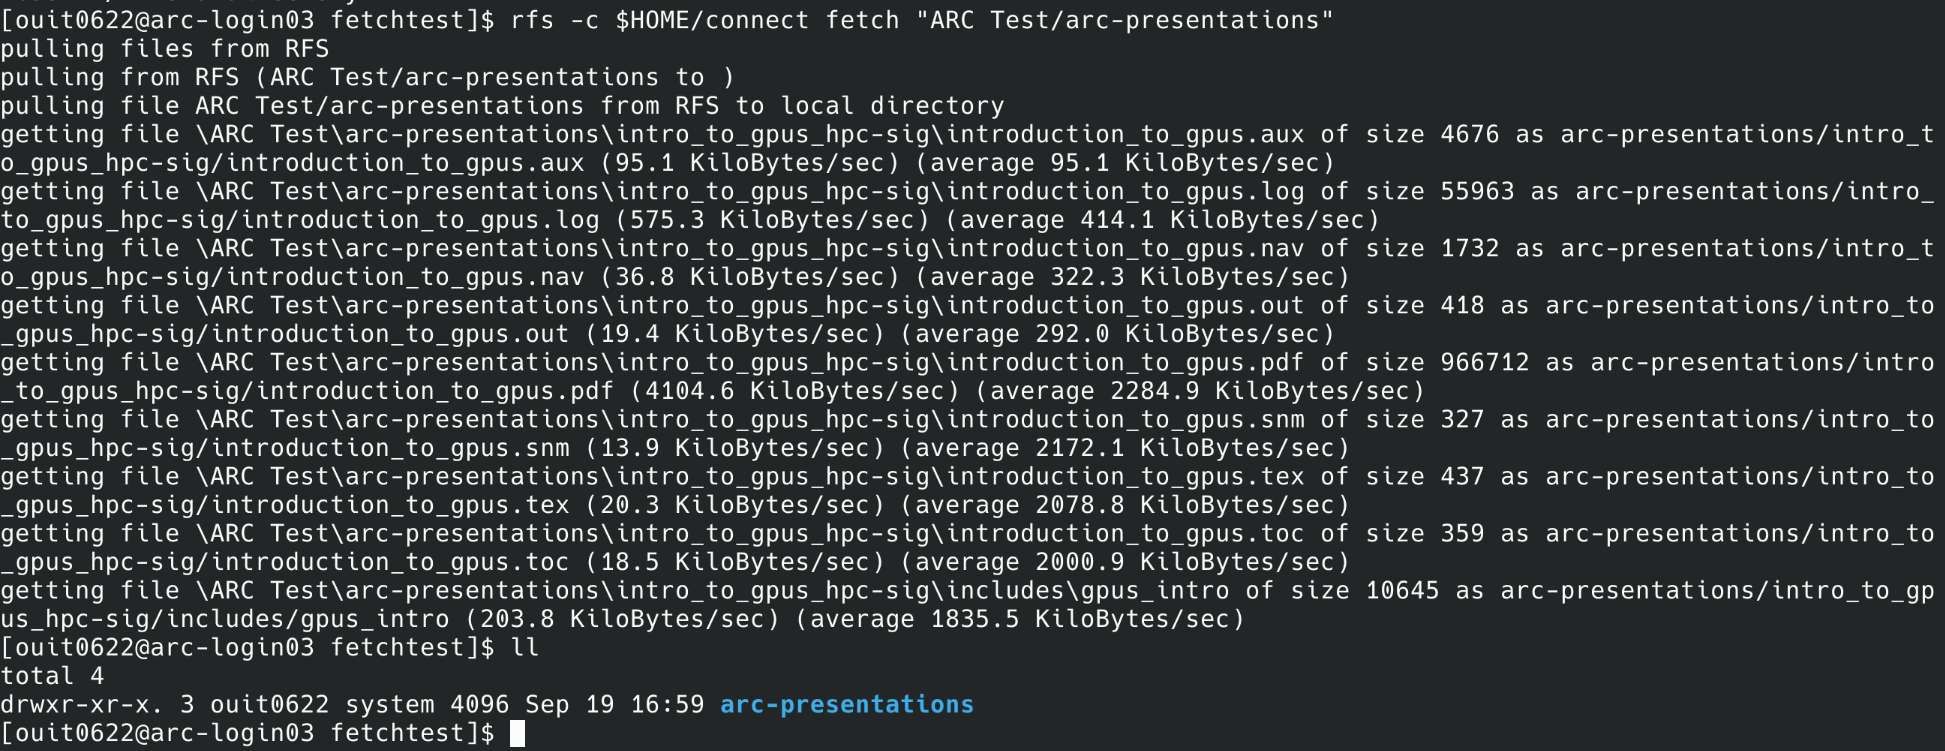
or into a specified directory:
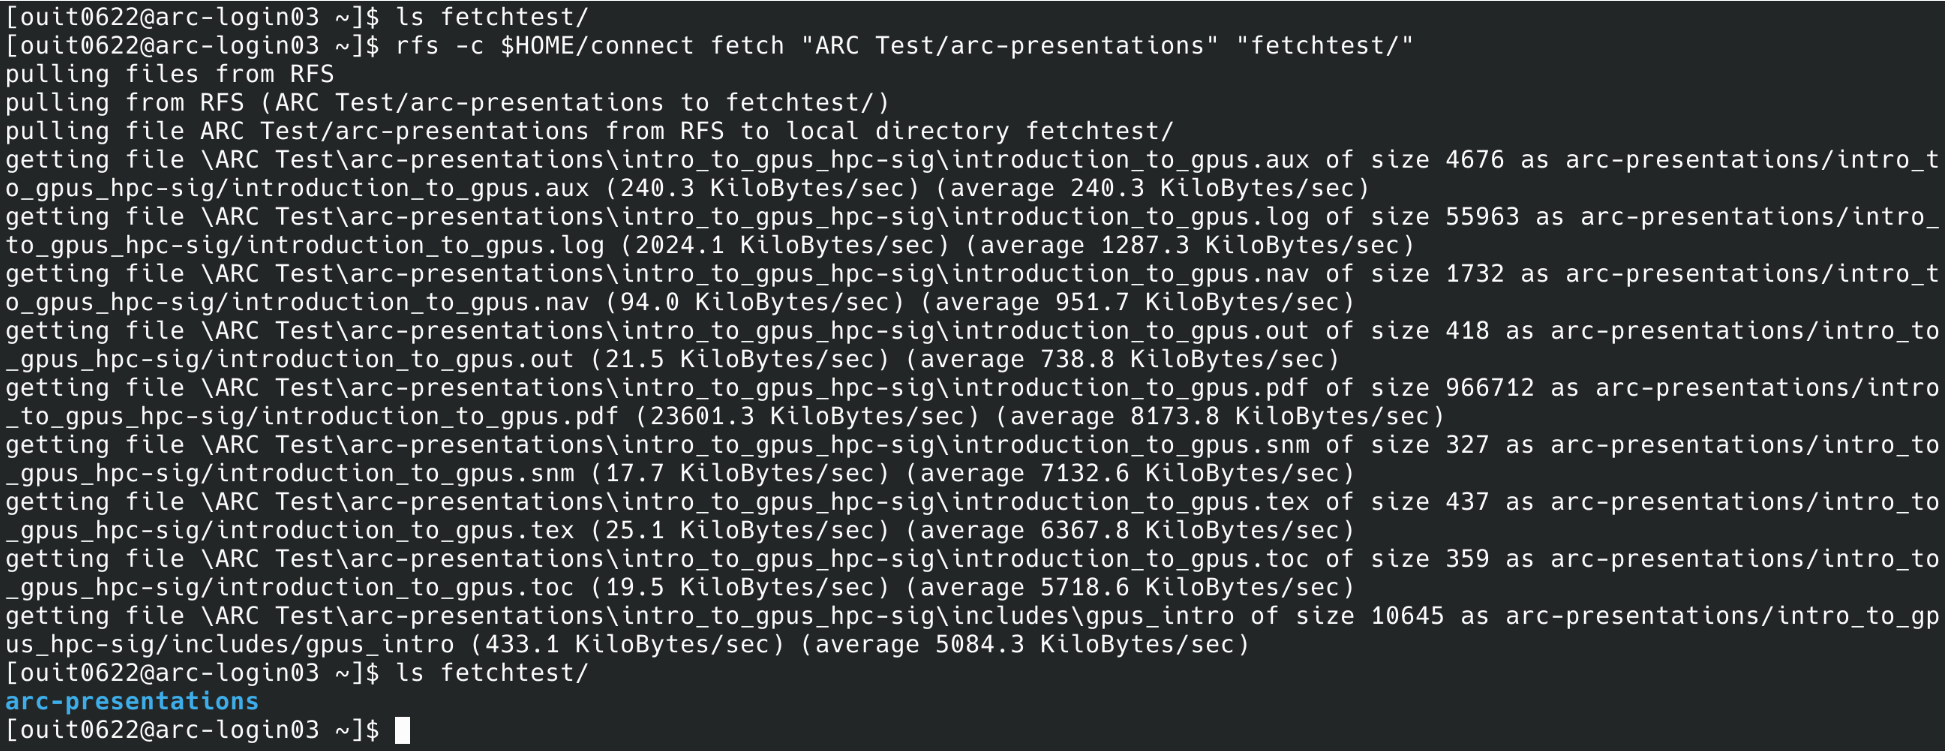
Paths entered can be either relative (i.e. relative to the current working directory), or full paths.
Using smbclient
Ultimately, the tool to interact with RFS from the command line is smbclient. This offers many more ways to interact with RFS than the ARC provided ‘rfs’ tool (including deleting files).
To start a smbclient session, type
smbclient -U ox.ac.uk\\$USER //connect.ox.ac.uk/RFS
or (if still using your CONNECT account)
smbclient -U connect.ox.ac.uk\\$USER //connect.ox.ac.uk/RFS
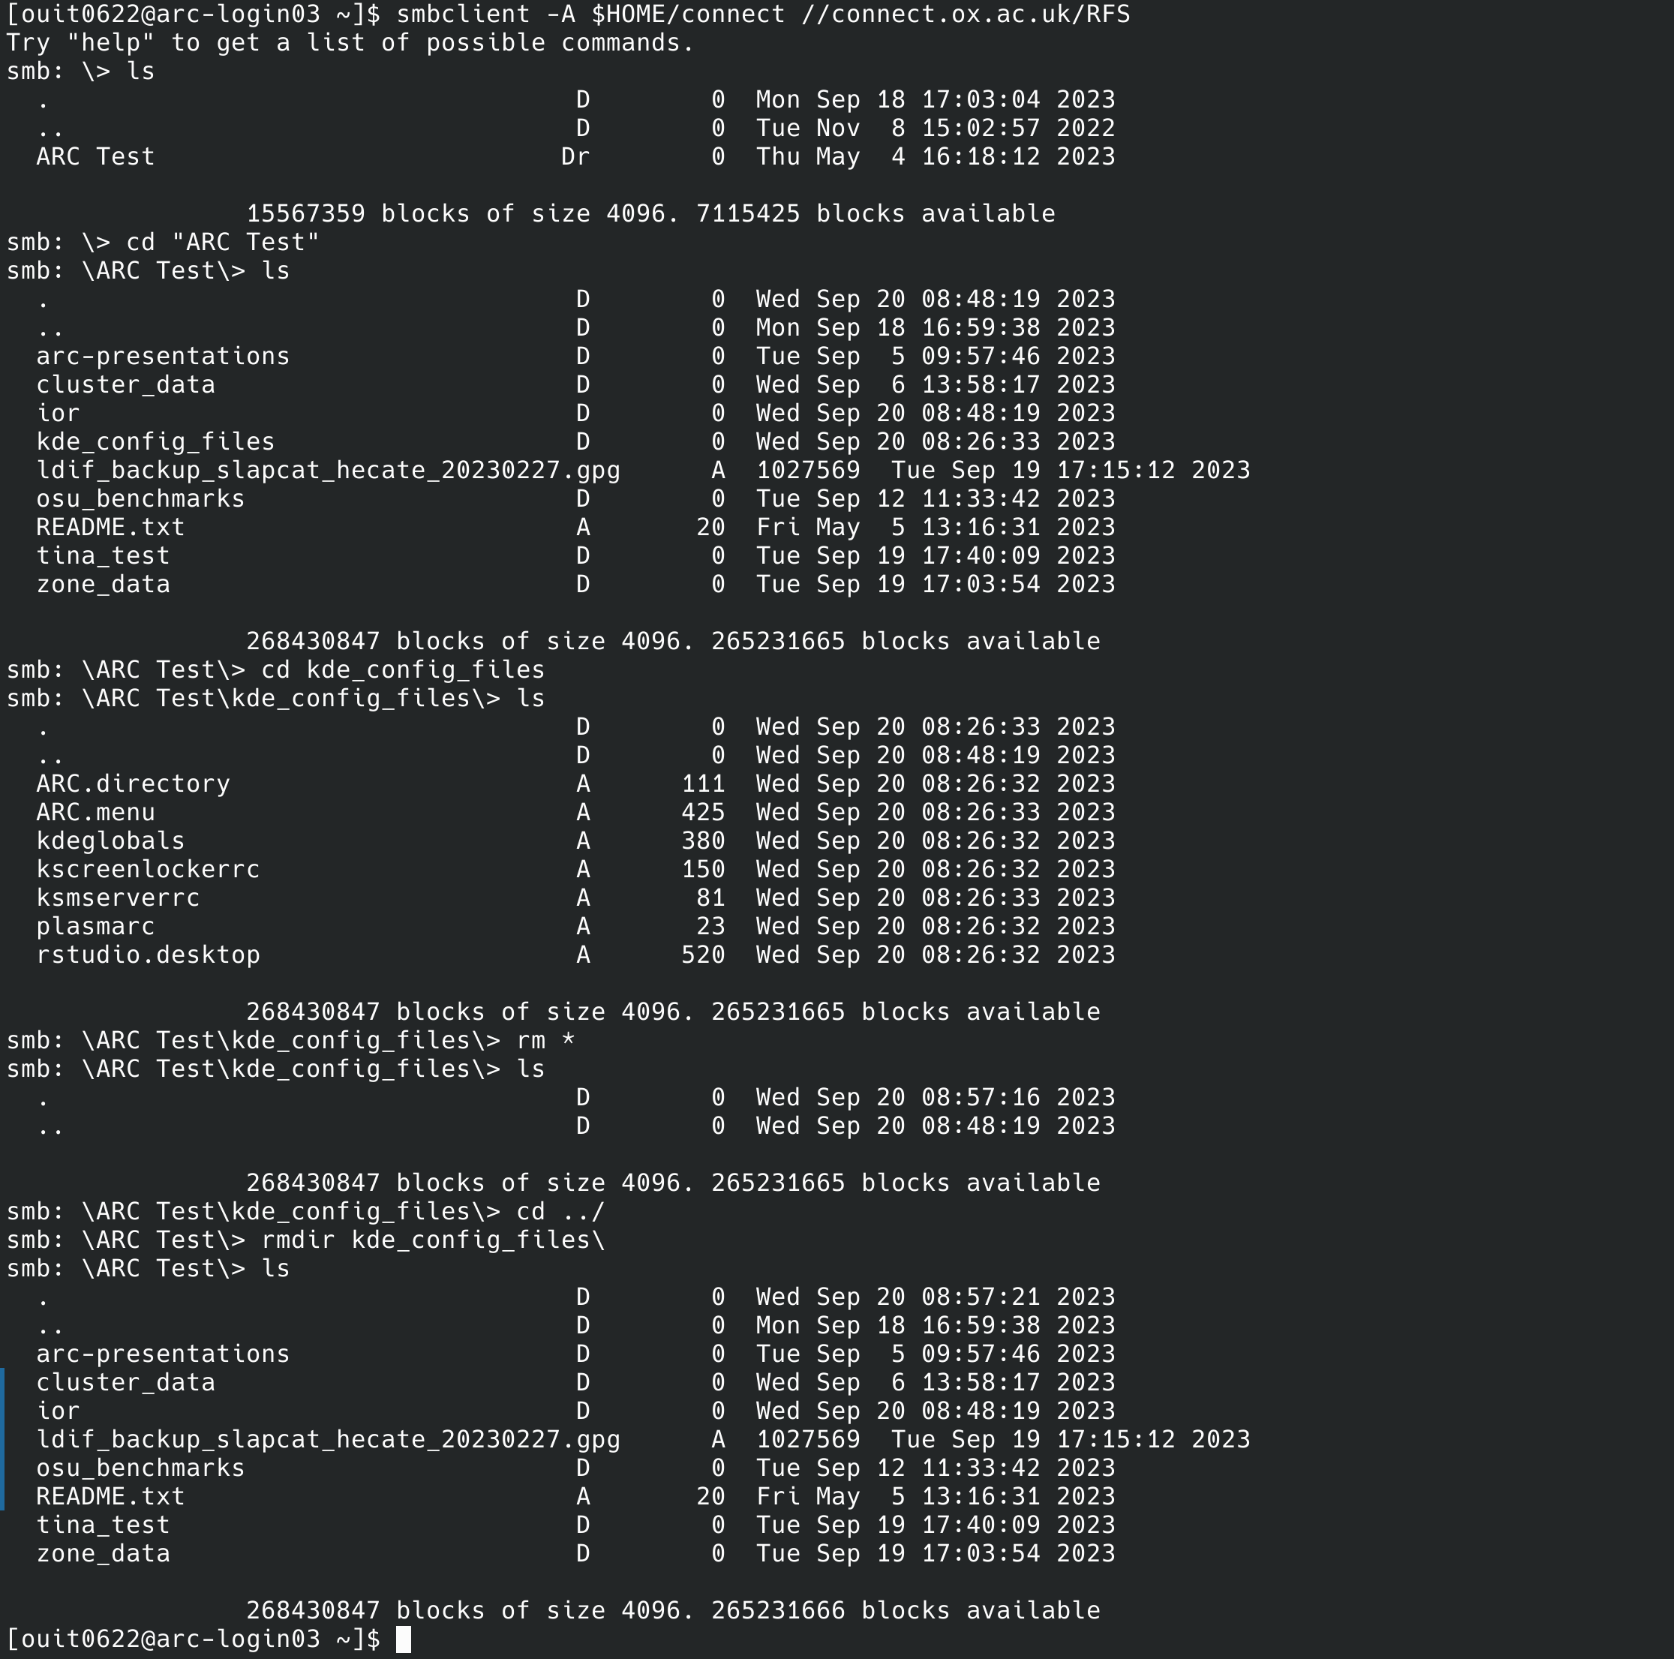
and enter your password. This will start a session. Within smbclient, the ‘help’ command will give you the list of commands, and help with commands:
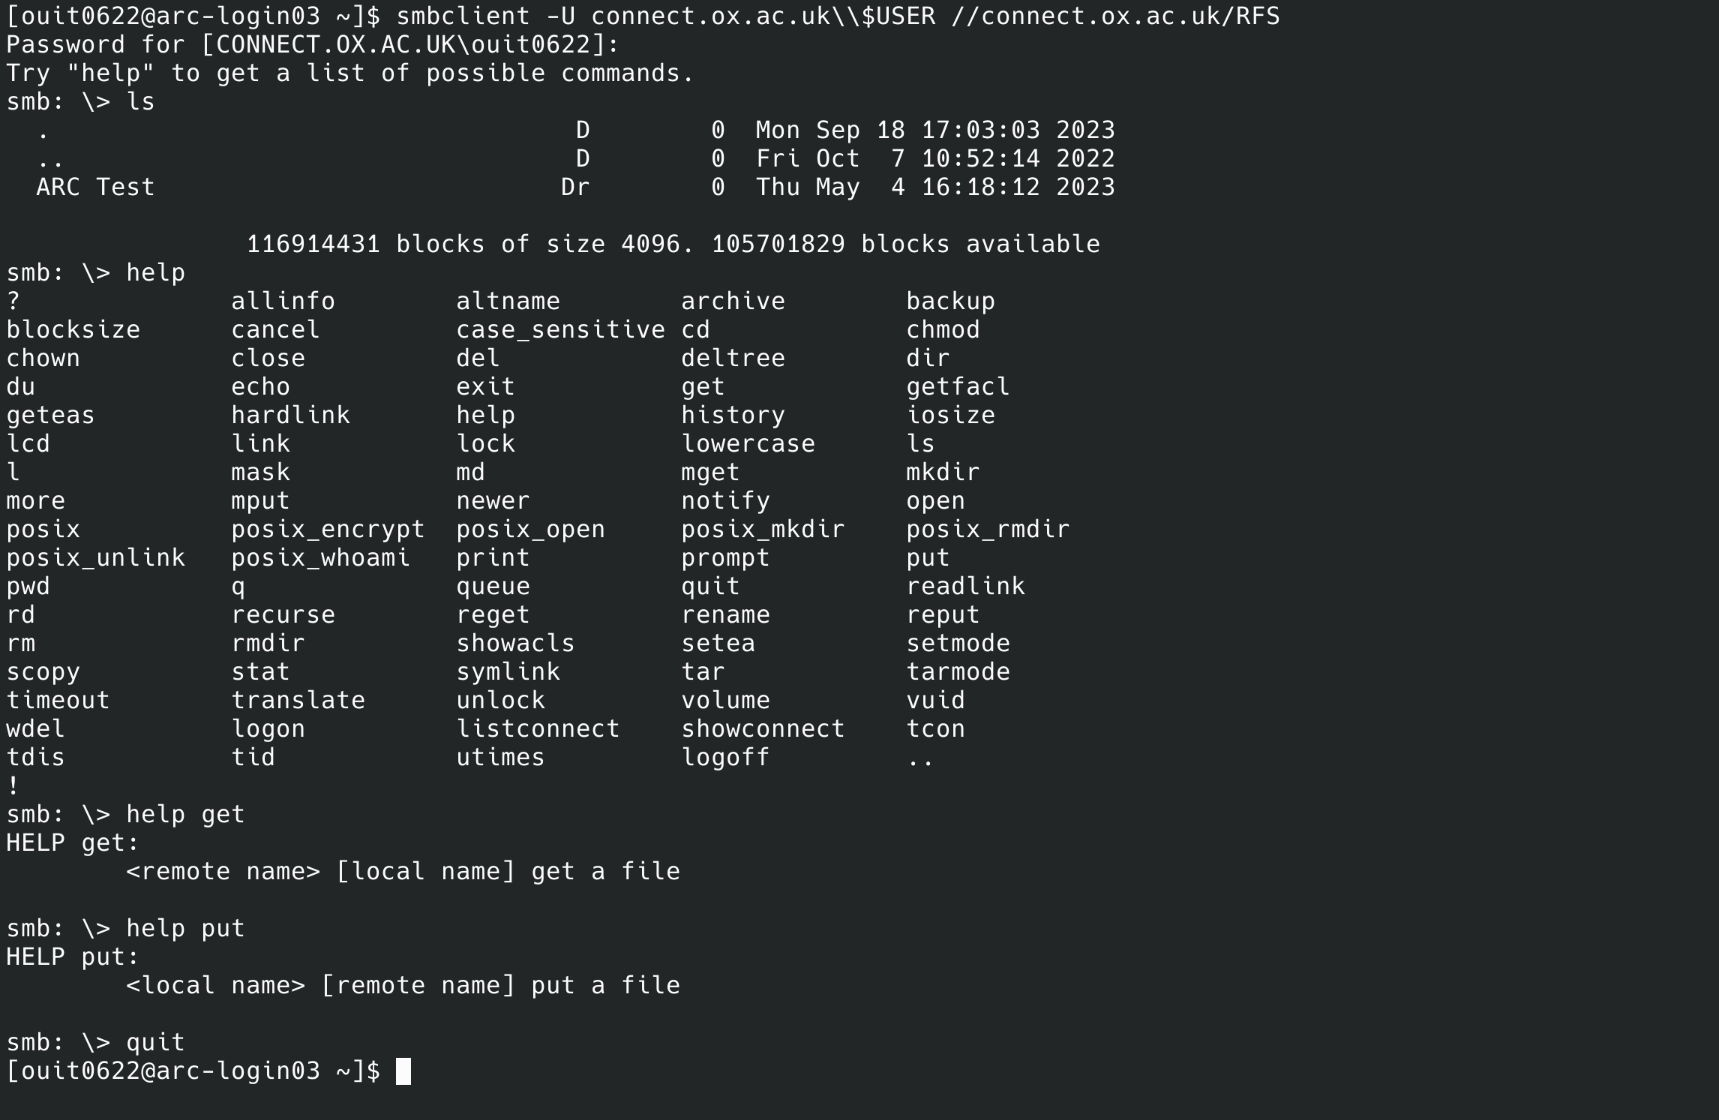
An example session - looking at available files and removing a directory (and it’s contents) - would be